No... we just did the slide rails. That's a it. Disassemble, clean, review a few things we already checked and corrected in a previous class, then on to the slide rails. And nothing but.

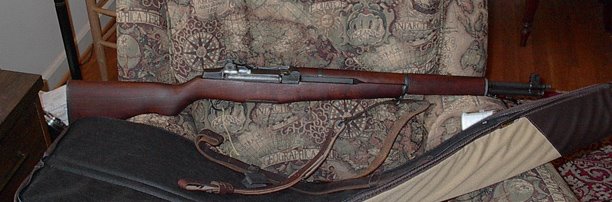
(the back end of the slide, pic from here.)
First you make a buncha measurements for reference for the built. Inner and outer rail width, and most importantly the rail height. Calipers for the first two and a very expensive micrometer for that last one. 8 measurement up one side, and 8 down the other. The littlest number was .1131. The biggest was .1162. My job was to to take a file and make the slide flat and straight and smooth... and all be .1130. +/- .0001. But it's better to just be right on the money. Yes, just hit 1/10,000th of an inch please. (Kuhnhausen usually said +/- .0005. Most people end up doing +/-.0015)
If my lowest number was .1151 then I would have filed down to .1150 all around. If the lowest number was .1125 in a critical area around lockup then I'd need a new slide because .1120 was too much off.
And since the file has to contact and ride both sides to stay flat and true, and one side might be .1148 and the other .1132, well, you see the English you gotta put into your file strokes. And it's slow going. 3 or 6 passes of the file, cleaning off the shavings and re-measure. It took all weekend. And it was supposed to.
What else? Knocked the front sight off. It was pinned in place, and I will get a dovetail cut here during class one of these 8 sessions. Also, when buying a 1911 used, rack the slide back and look at that little disconnector divot. If there is a drilled out hole in the middle of it, run away.
In fact, look there, feel the trigger on a dry fire, look at the ejector end for weird banged up wear, and check the feed ramp and transition to the barrel ramp and know what that gap should be by eye and what a healthy ramp should look like. That inspection should take all of 6 seconds once you know how and will get you far on the road of the 'is this gun worth maybe plunking down money for?' question.

2 comments:
What is the drill hole in the disconnect relief supposed to be for?
Well sometimes the "smith" couldn't get the disconnect 'high' enough. Old skool kitchen table dumbsmith would solve their problem with the drill hole. Instead of addressing the problem some other way.
To simplify matters further, they had a disconnector part and a slide part that weren't working well together. And decided to permanently alter the slide ($200) instead of the disconnector ($20). Now, as a rule of thumb, you ruin the cheap part first...
Post a Comment