Bossman also wasn't super happy with the engagement. HE saw it was dropping a single hook (part of that creep I was feeling but couldn't properly diagnose like he can) and he show me. The lockwork... if the sear creeps a bit off the hammer hook it should reset if you let go of the trigger. It wasn't. So a bump or jostle with a half pulled trigger that you didn't fire off? It could go off. Like when you reholster. Bad bad.
So work was done to get the hammer/sear engagement different.
My gun WAS all together and ready to go. Almost to the finish line. Then I went back about 40 steps in a second. Welcome to 1911 gunsmithing...
Like many things, I didn't full know why... This is some of the gunsmith voodoo I am trying to learn but is very difficult to master. Perhaps after 200 builds....
So, I went back and forth with that for a while. Stoning the parts, then testing, with supervision. When last I did this weeks ago I had about 99% contact. It's a bit less that that now. More than 94%? You can tell by the sharpie marker that is worn off the sear when you test it. If your factory gun has 50% then you are indeed lucky. I might be being over critical of my own stuff.
(Les Baer pistols are pretty good at this. They do decent trigger jobs. Their barrel lug fitment leaves a bit to be desired.)
So, got that back and am happier with the trigger feel. But the grip safety was another story.
Now it wasn't dropping the hammer at all. I had to remove a LOT more metal on that little table that engages the lockwork. But then.... Oooo! Things went from "Gaw, this is not gonna be a decent gun, I will hate serial number #001" to "Hey! Not bad. I can live with this..."
A few tiny swipes with a ceramic stone to the hammer hooks and I had to remove what felt like an acre of metal from the grip safety. Wow. I'm lucky it didn't force me to go back and refit the barrel to the slide. Ok that was a bit of an exaggeration, but NOT MUCH! A tiny change in one spot of the 1911 can have ramifications throughout.
Here is what a generic grip safety look like

And this a representation of the metal I've had to remove to get it to work properly, in red.

The radius on the top was removed with a sanding drum in the Dremel. There are three separate filing facets on the lower area, and you have to keep that 'level' so you don't catch up the trigger bow. Also, I had to remove some from that little tab sticking out the bottom.
The Grip Safety gave me the most trouble of the stuff I could actually do myself.
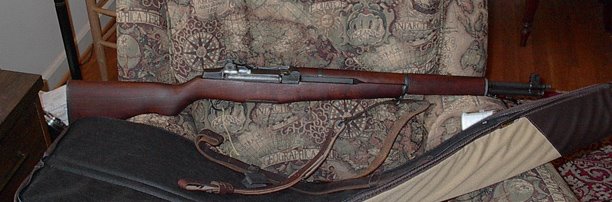
So... Done. 12 rounds test fired. I need to do some metal finishing. The slide has some ugly ugly scratches. I need to put on the grips. Easy. And mount the sight. Also something I can do myself.

5 comments:
That's why gunsmiths take as long as they do to 'fix' a gun... Trial and effort, and multiple tries to get that 'perfect' fit!!!
I'm really hoping that the red area is a major exaggeration. If not, WTF?
I hope you are still having fun with it!
It is not Will. I will try to put up a comparison.
Maybe a tiny bit of exaggeration...
Post a Comment